Why Bubbles Appear In Nail Polish?
If your nail polish has bubbles, you will have to remove the nail paint and start fresh. But unfortunately, the bubbles will come back again and again, if you don’t know how to apply nail polish in the right manner.
Reasons For Bubbles In Nail Polish
The air that gets trapped while you apply coats of nail polish on your nails forms bubbles in the drying process. Following are the reasons for the bubbling of nail polish.
• Using a thick nail paint
• Applying coats quickly
• Not using a base coat
• Using an expired nail polish
But you can prevent the appearance of bubbles if you apply the nail paint in the right manner. And you will be surprised to know that you don’t need additional accessories or training for applying nail polish.
Let’s start with a clean slate
- Clean Your Nails
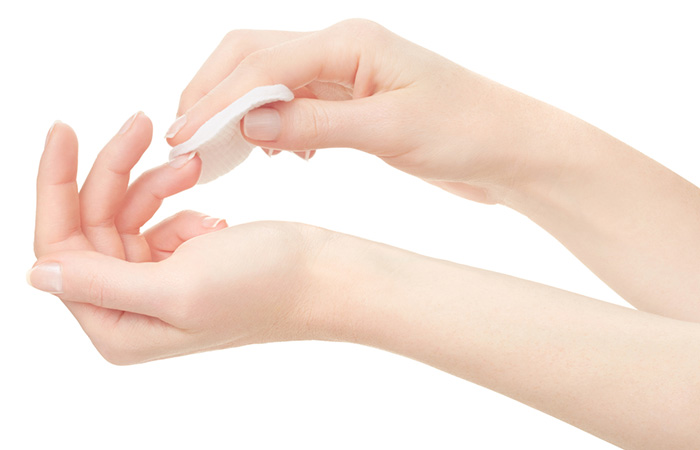

Polish won’t set on your nails if they are greasy or dirty. First, wash your hands with a quality handwash to clean your nails and let them dry completely so you can do further cleaning. Take a cotton ball, soak it in acetone and wipe the dried nails to remove any leftover oil, grease, or dirt from the nails. Also, clean the nails from the root to the top. Now your nails are cleaned and ready to accept polish or paint.
- Apply A Base Coat
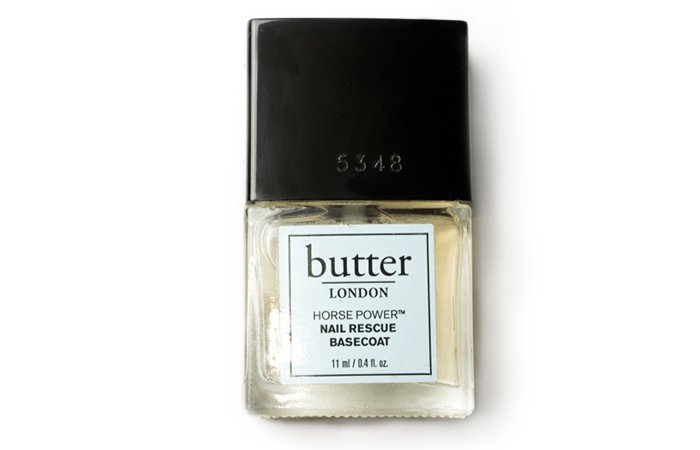

Just like you apply a primer before makeup, your nails need a base coat before polishing. It will provide a smooth base for the polish to set. The oil you removed from your nails would come back naturally but a base coat is enough to seal that oil and prevent it from discoloring the polish. Also, the base coat would provide a smooth and even finish to your nail paint. Buy a quality base coat for your nails and apply it all over the nails before polishing.
- Nail Polish
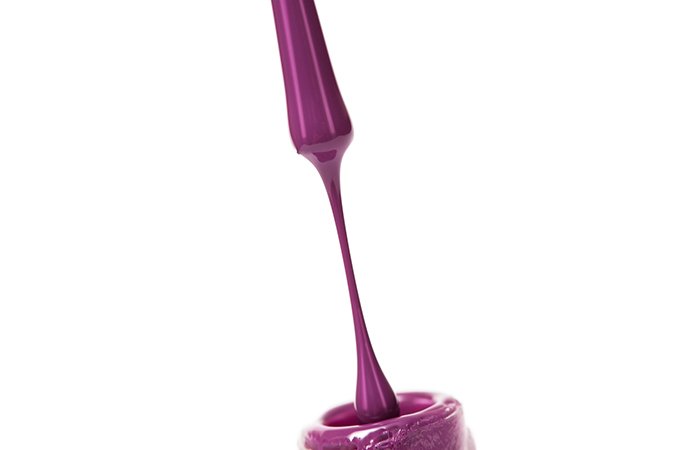

If you are using an old nail polish that has been lying in your vanity box for a long time, you should check its consistency. Apply a small coat on a nail to check whether it is thick or thin. If it is thick, dense, and sticky, it won’t give the right finish. If you still want to use that nail polish, you should thin it out with a lacquer thinner. But it is better to buy a bottle instead of spending your money and time treating an old and gloppy polish.
- Roll The Bottle
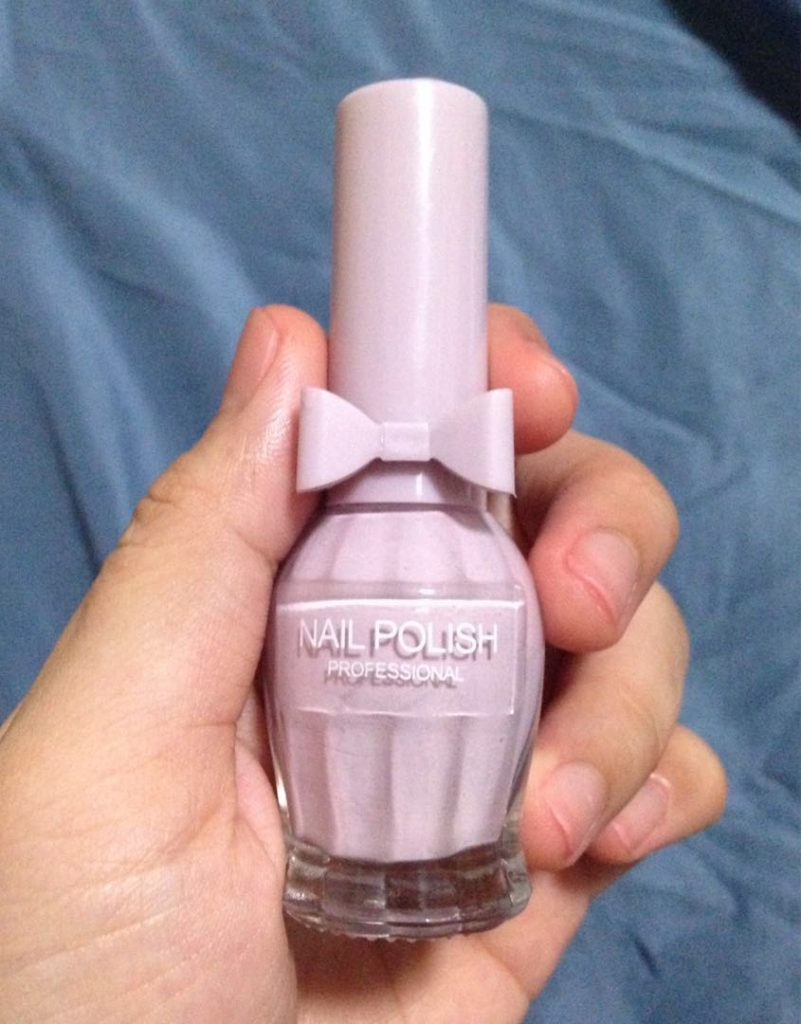

Shaking the bottle or pumping the brush in and out of the bottle to mix the contents is a mistake. What you need to do is simply roll the bottle between your hands. Vigorous shaking or pumping the bottle with the brush will only create tiny air pockets in the polish and those pockets would transfer to your nails and form bubbles. The tiny holes you see on your nail polish are due to the trapped air in the polish. Sometimes polish gets separated from the brush, but it doesn’t need shaking or pumping with the brush.
- Apply Thin Coats
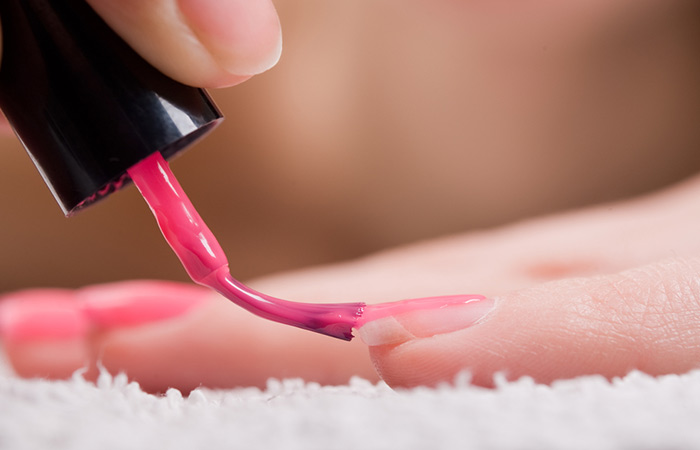

The perfection comes with smooth and even application of nail polish. And the secret is to apply short and even strokes with little polish on your brush. The first one should be from the nail bed to the middle followed by both sides. And keep the brush as close to the nails as possible and wait for the first coat to dry before applying the second coat. Thicker polish takes a long time in drying and it often leads to smudges and bubbles.
- Always Apply A Top Coat
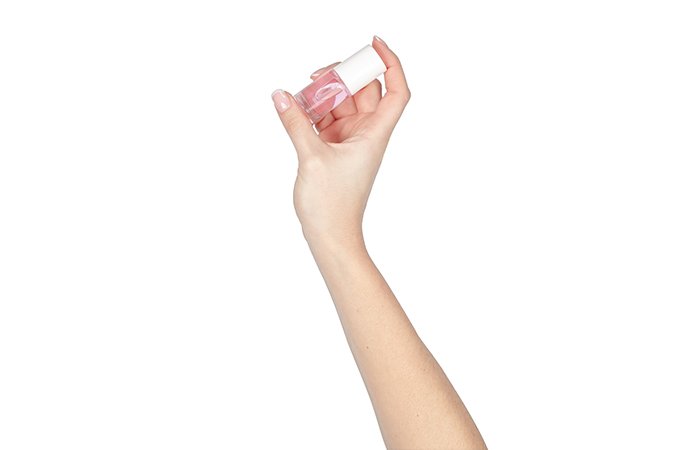

Once your nail polish has dried, you can go for a final topcoat. Check whether the polish on your nails is completely dried to get ready for the final coat. Take the brush out of the polish and swipe across your nails. And make sure that you cover an entire nail in the first swipe. A topcoat is necessary to prevent the chipping of the nail paint in near future.
- Treat Your Polished Nails With Cold Water
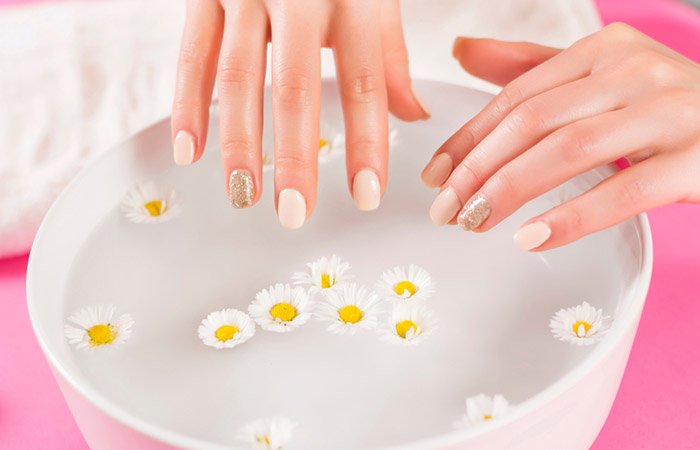

Take ice from your refrigerator and prepare ice-cold water in a bowl for the cold-water treatment of your polished nails. Dip your fingers in the bowl for about a minute for the treatment. It will prevent the creasing or bubbling of the polish. Also, it will help in the quick drying of the polish. Prepare ice-cold water in advance by keeping a bowl of water in the refrigerator.
- Store Your Nail Polish Properly
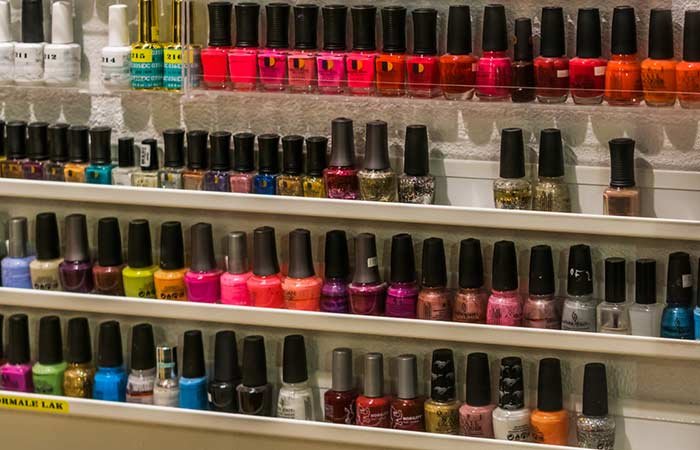

Always keep your nail polish bottle upright in a cool and dark place to prevent it from separating from the brush. Also, wipe off the neck of the bottle with remover-soaked cotton before putting the bottle in your vanity box. Nail polish needs a consistent temperature to retain its consistency. With the right care, you can improve the shelf life of your nail polish.
Precautions
Avoid using hot water or even working at a warm temperature for at least two hours after polishing your nails. Taking a hot water shower or washing hands with warm water could remove the gloss and shine of the nail paint.
Always use a quality product and never use an old polish. It is better to buy a new bottle of nail polish instead of thinning out the thicker and sticky polish. Just throw it away and get a new bottle of nail paint of your choice.
Final Thoughts
If your nail paints form bubbles, you should blame it on the application process instead of the polish. Bubbles are formed because of trapped air inside the coats. Also, using thick polish could smudge your nails. If you love polishing your nails, you should also learn how to apply nail polish.
When you want to remove the polish, you should use a quality remover that can remove the paint without harming your nails. Also, you should never use rough ways like chipping the polish with a pen or pencil as it will only damage your nails.
Disclaimer: The information provided in the blog is only for educational purposes and the readers are advised to take necessary precautions while applying and removing nail paints.
For more information please visit our site at https://www.searchom.com/

